|
Add Product |
  
|
|
Add Product |
|
The Product Catalogue stores information about your Assets.
View Products
Under the 'Home' menu find the 'Product Catalogue' button
This will give you a list of all of your products currently listed in TOOLMINDER.
New Product
The ribbon menu at the top will have automatically changed from 'Home' to 'Record,' under which you will find a 'New' button.
Click it to create a new product in Toolminder.

Once you click 'New' a pop-up window should appear called 'Untitled - Product.' Enter the product information into the relevant section.
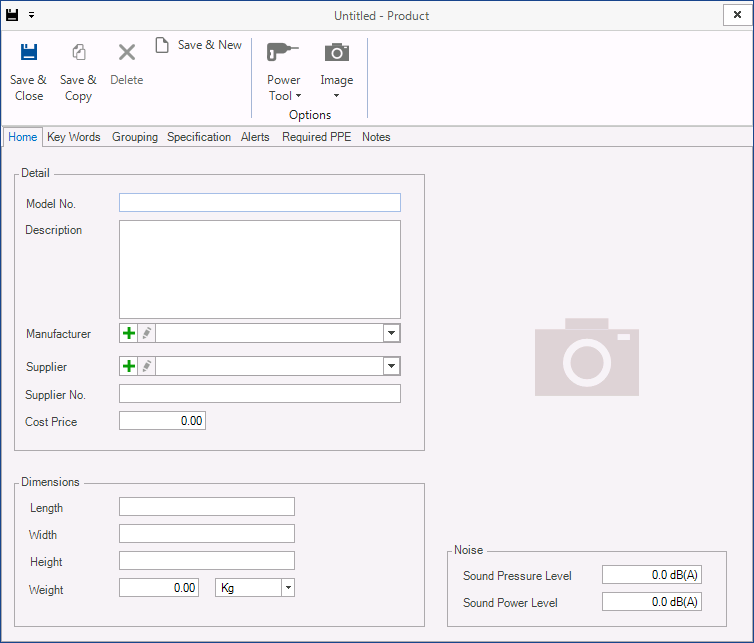
If you draw your attention to the top ribbon menu you will see a number of options (Save & Close, Save & Copy etc.).
There are a number of other actions you can perform in this menu such as.
Options
| • | Set product type - Select the type of product (the default shown in Power Tool). |
| • | Add a product picture - You can add a picture of your product by either linking to the file (store path only) or storing it in the database (store in database). |
Below this ribbon menu you will notice the properties tab. These can be used to enter further information about the product such as:
| • | Home - When creating a new product the minimum data values you must enter is the Model No. |
| • | Grouping - Link the product to a group, the group can be extended to 4 levels. |
| • | Specification - Power specification of the product. |
| • | Maintenance - The default maintenance schedule of the Product. |
| • | Required PPE - Select any Personnel Protection Equipment that must be worn/used while operating the product. |
| • | Notes - Notes you have for the product can be stored for a product, the notes are separated into Features, Materials, Warnings and a General Notes. |
When you have completed entering your product details, click Save & Close and the record will be saved.