|
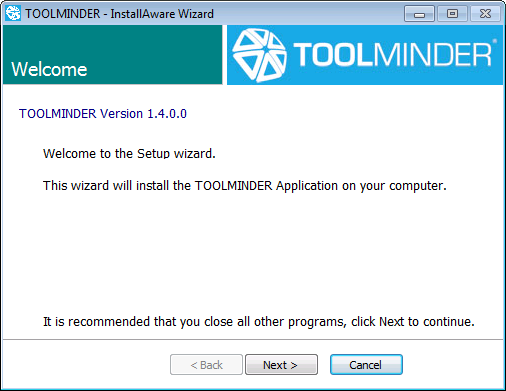
Install TOOLMINDER |
  
|
|
Install TOOLMINDER |
|
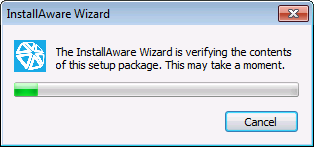
When you have clicked Install Toolminder the contents of the wizard will be checked, this may take a while.
The ‘Setup Requirements’ page will only appear after Toolminder has checked your computer and has found components missing that are required in order to operate Toolminder.
When the installation program is ready to install Toolminder, you will be prompted to make sure any open programs are closed before continuing with the installation.
Before the program installs you will be required to accept the Earlsmere license agreement. You should read this carefully before installing.
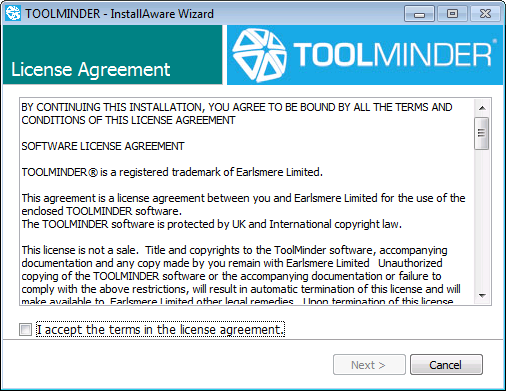
If you do not agree with the licence agreement click the cancel button and Toolminder and the installation will end
and Toolminder will not be installed onto your computer.
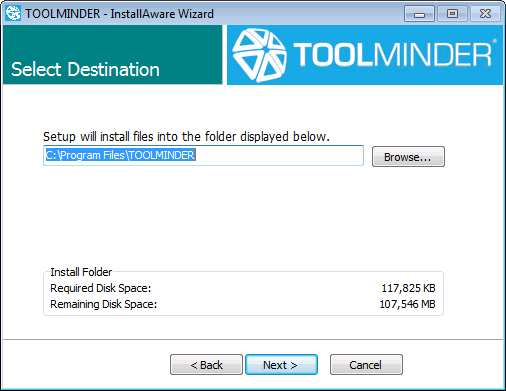
You can select the destination folder Toolminder will be installed on your computer, the default location is recommend.
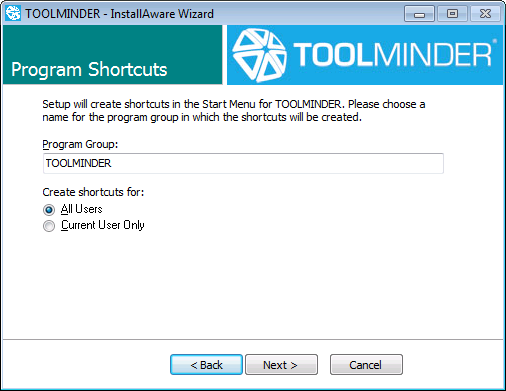
The name Toolminder appears as in the start menu you can change and also select if Toolminder will create icons and short cuts for all users.
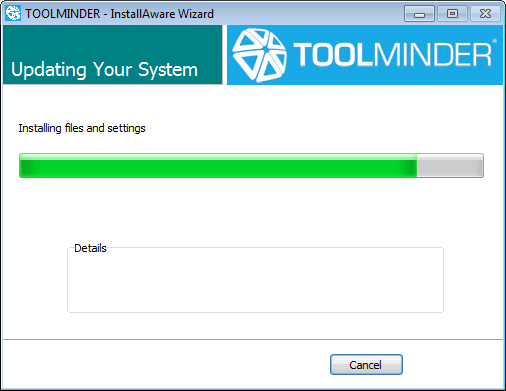
Click next button to start the installation.
When the installation of Toolminder is complete click the Finish button and you are then ready to start using Toolminder.
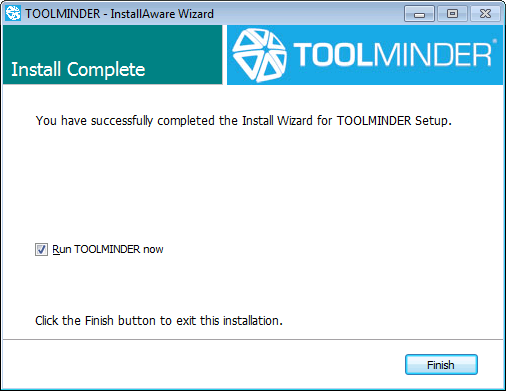
If the installation process was successful a Toolminder Icon will have been placed on your desktop.
Also a Toolminder menu option will have been added to your start menu.